Przednia lampa LED Trionic o mocy 1600 lumenów z akumulatorem
W tej instrukcji pokazano, jak zamocować uchwyt na lampkę i lampkę do Walkera (lewa kolumna poniżej), a także jak zamocować je do Velopeda (prawa kolumna poniżej).
Na zdjęciu po lewej stronie A przedstawia elementy mocujące uchwyt do Walkera (2 śruby + 2 podkładki). B przedstawia elementy mocujące uchwyt do Velopeda (1 śruba + 1 nakrętka radełkowana + 1 nakrętka).

Mocowanie uchwytu na światło
Instrukcje dotyczące chodzika
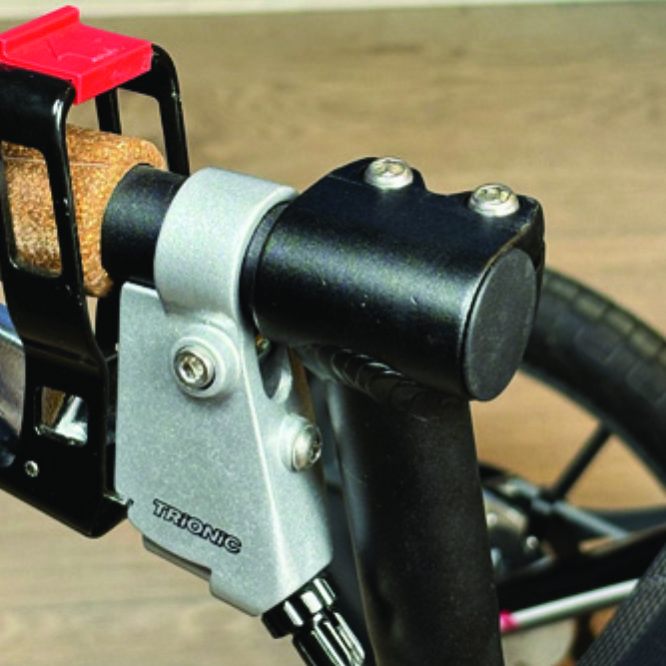
A1. Na górze czarnej półpionowej rurki zlokalizuj dwie śruby mocujące rurkę chwytu, znajdującą się przed dźwignią hamulca.
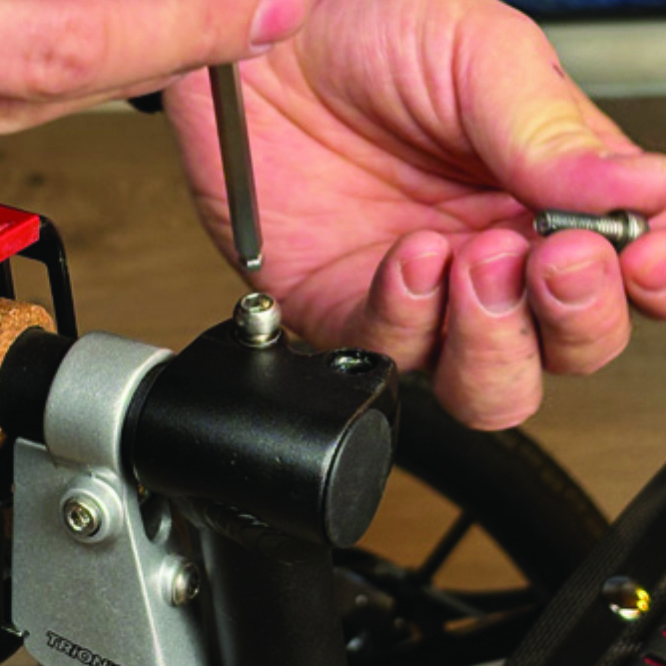
A2. Odkręć obie śruby za pomocą klucza imbusowego 5 mm dołączonego do oświetlenia LED.
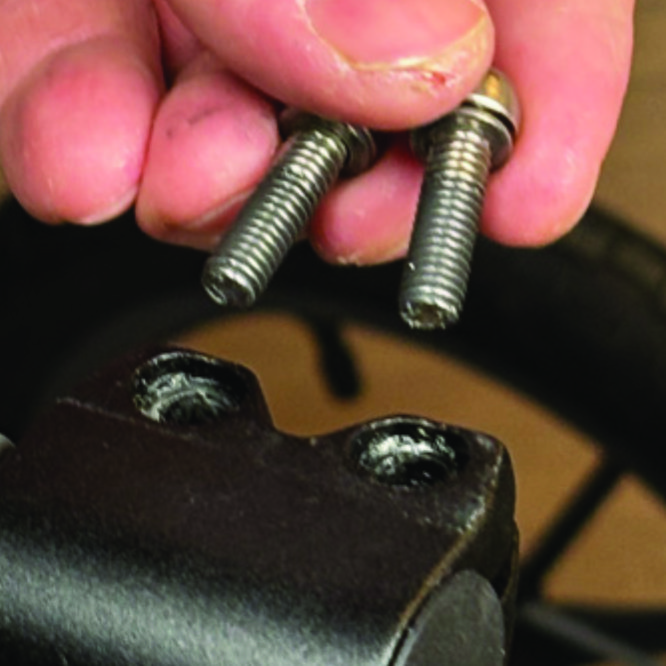
A3. Wykręć dwie śruby z zacisku uchwytu.
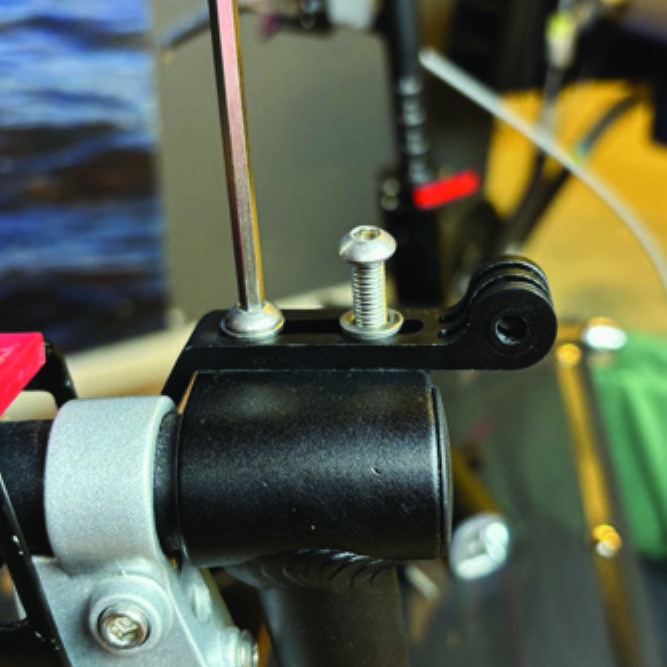
A4. Umieść uchwyt na lampę na górze zacisku uchwytu, tak aby jego okrągłe i szczelinowe mocowanie lampy było skierowane do przodu i do góry. Włóż dwie śruby z podkładkami do otworów zacisku.
A5. Dokręć dwie śruby kluczem imbusowym 5 mm. UWAGA: Ważne jest, aby dokręcić śruby prawidłowo, ponieważ zabezpieczają one rurkę chwytu z gumowym uchwytem i dźwignią hamulca.
Instrukcje dotyczące Veloped
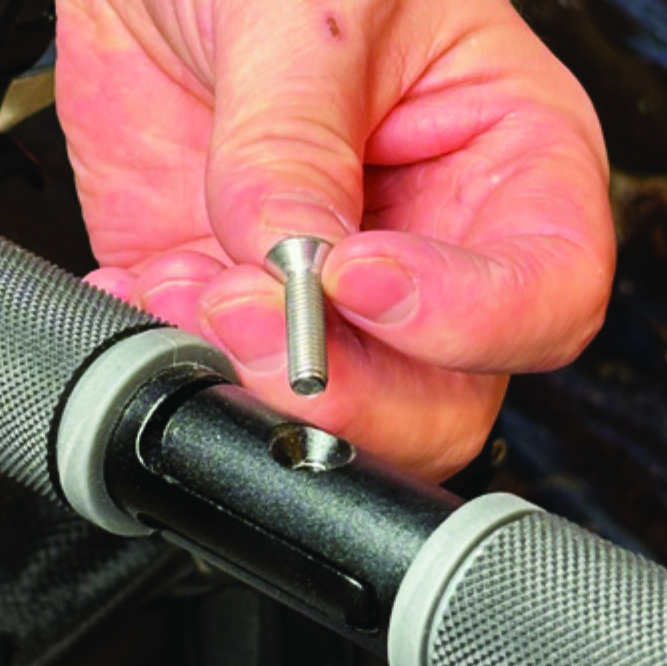
A1. Znajdź śrubę na środkowym składanym zawiasie uchwytu w kształcie litery U Veloped. Odkręć śrubę dołączonym kluczem imbusowym 4 mm i wyjmij ją.
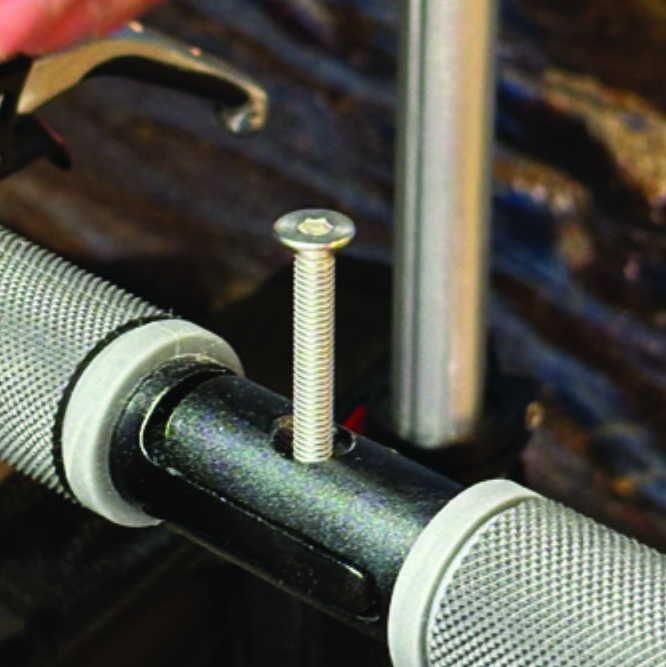
B2. Wymień starą śrubę na dłuższą śrubę dołączoną do światła LED. Przymocuj dłuższą śrubę do zawiasu i dokręć ją kluczem imbusowym 4 mm.
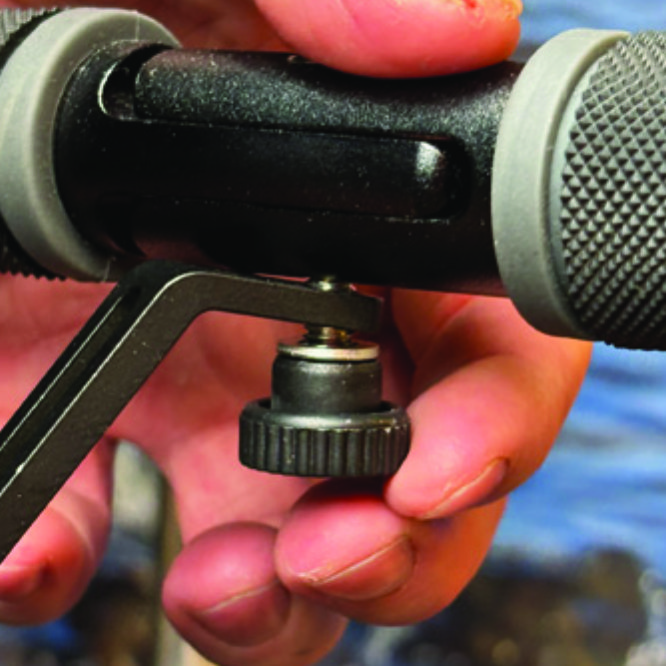
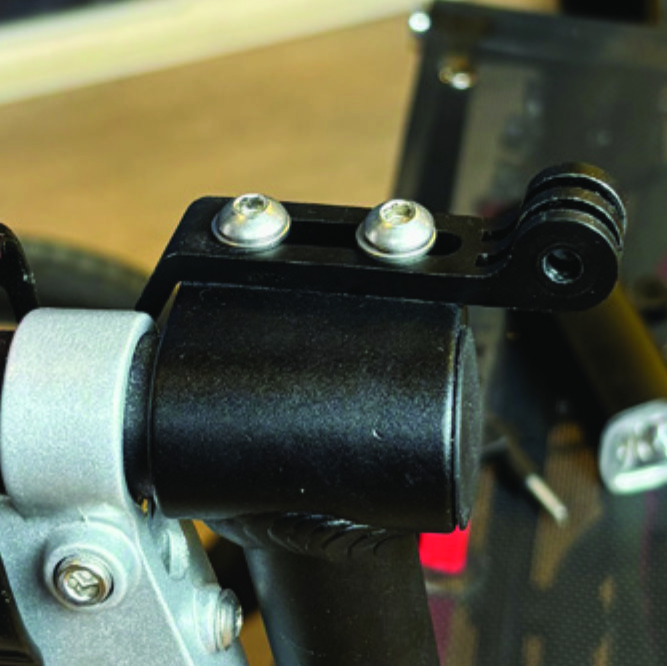
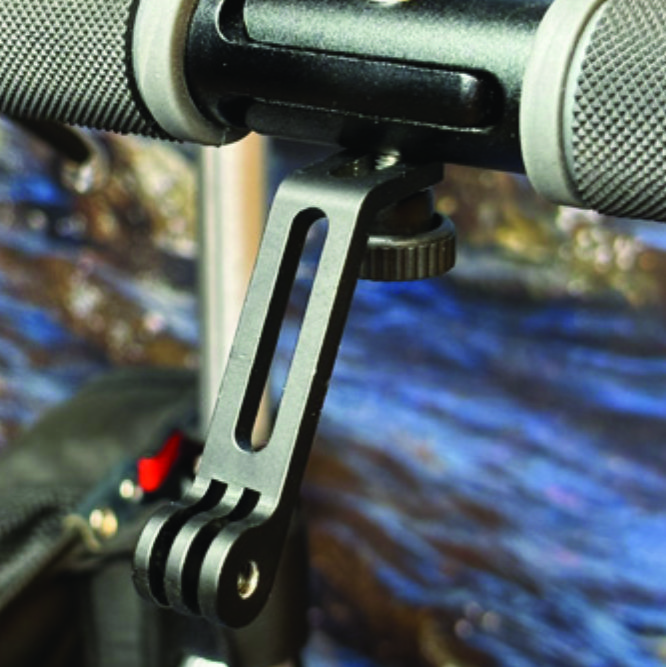
B3. Przymocuj krótki, kątowy koniec uchwytu światła do dolnego końca śruby, na dolnej stronie uchwytu w kształcie litery U. Uchwyt powinien być skierowany w dół. Przymocuj uchwyt jedną podkładką i nakrętką radełkowaną, którą dokręcasz palcami.

B4. Aby uzyskać pewniejsze mocowanie uchwytu i zapobiec jego przypadkowemu obróceniu się na boki, wymień nakrętkę radełkowaną na dołączoną nakrętkę ze stali nierdzewnej i dokręć ją kluczem 10 mm.

B5. Na zdjęciu widać prawidłowo zamocowany uchwyt na lampę.
Mocowanie światła LED do uchwytu
Instrukcje dotyczące chodzika

A6. Znajdź okrągły przedni koniec uchwytu na lampę, z dwoma otworami służącymi do przymocowania lampy.
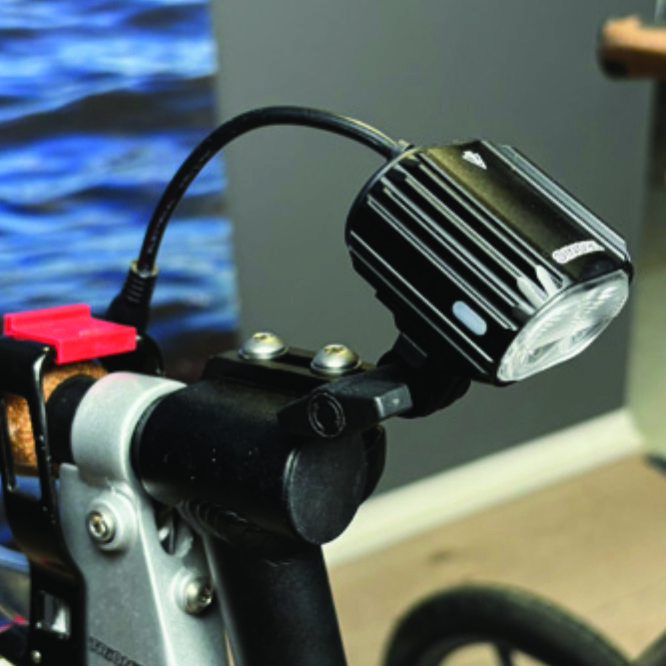
A7. Wciśnij wspornik z rowkiem lampy w rowki uchwytu i upewnij się, że są wyrównane. Patrząc w kierunku jazdy Walkera, włóż dołączoną nakrętkę motylkową od lewej strony i dokręć ją.
Instrukcje dotyczące Veloped
B6. Znajdź śrubę na środkowym składanym zawiasie uchwytu w kształcie litery U Veloped. Odkręć śrubę dołączonym kluczem imbusowym 4 mm i wyjmij ją.

B7. Znajdź okrągły przedni koniec uchwytu na lampę, z dwoma otworami służącymi do przymocowania lampy.
Umieszczanie akumulatora
Instrukcje dotyczące chodzika
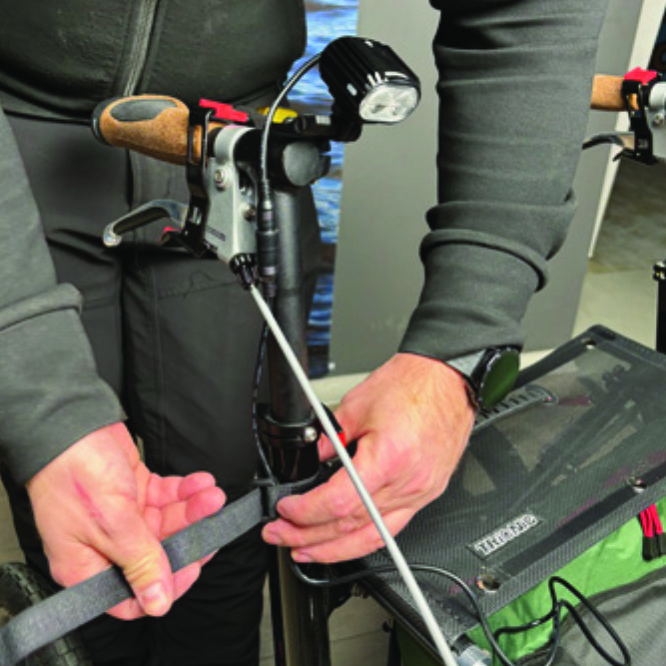
A8. Poprowadź dłuższy kabel przedłużający wzdłuż półpionowej rurki rękojeści Walkera i zabezpiecz go dołączonym paskiem z rzepem.
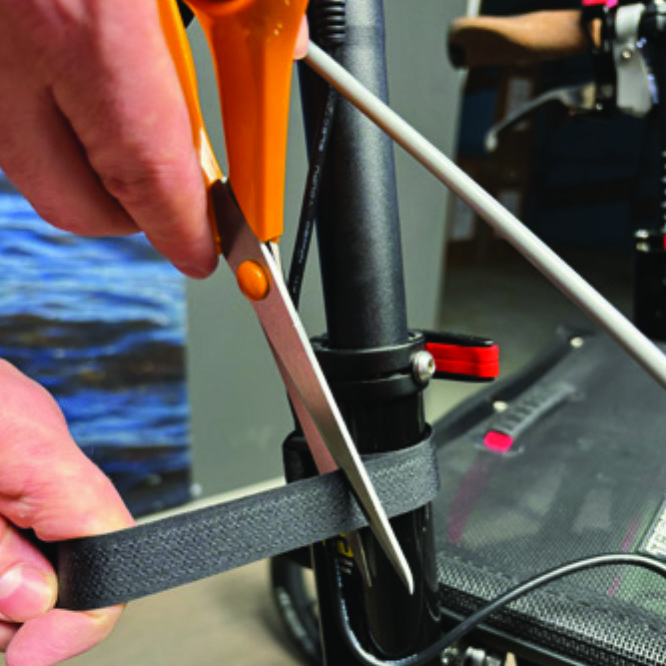
A9. Nadmiar paska rzepowego możesz odciąć nożyczkami.
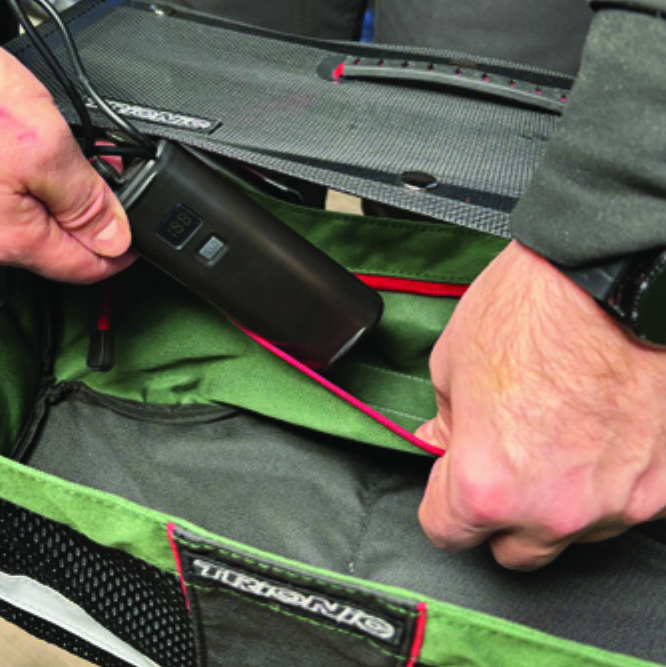
A10. Umieść akumulator w tylnej kieszeni zapinanej na suwak w koszyku.
Instrukcje dotyczące Veloped

B8. Poprowadź dłuższy kabel przedłużający wzdłuż uchwytu w kształcie litery U roweru Veloped i zabezpiecz go dołączonym paskiem z rzepem.
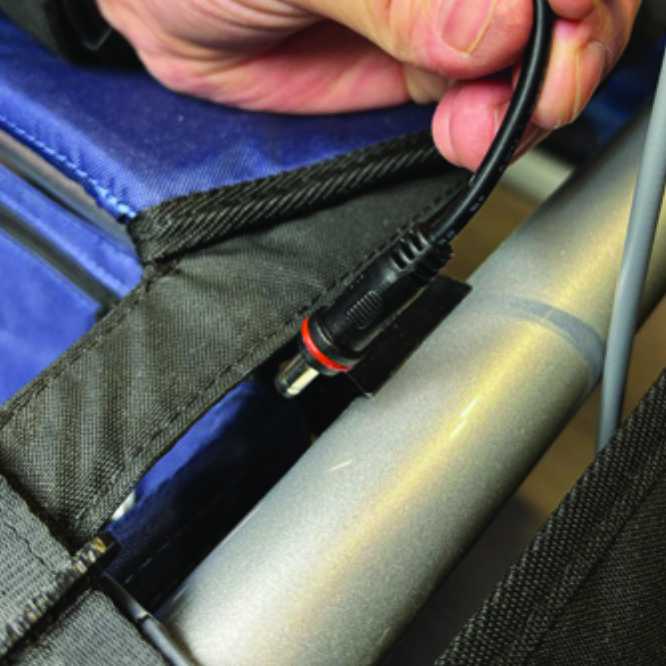
B9. Nadmiar paska rzepowego możesz odciąć nożyczkami.
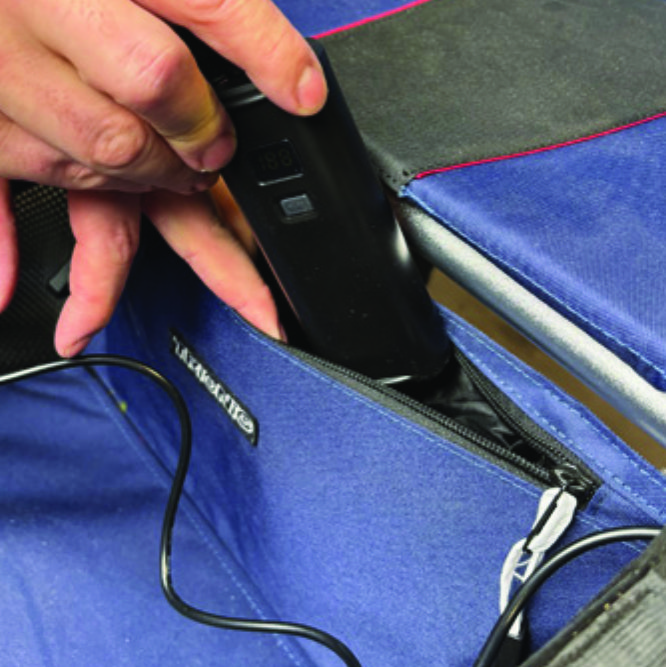
B10. Umieść akumulator w tylnej kieszeni zapinanej na suwak w koszyku.
Pakiet zawiera

Jak obsługiwać światło
